Today's activity - How to shuffle a deck of cards
Shuffling takes a LOT of practice, so you should dedicate quite a while to perfecting this skill. First you have to choose the right deck. It is best if you have a deck of cards that are kind of slippery when you rub them together. If you don't have a slippery deck, a regular deck will do fine too.
Take your deck and separate it into 2 smaller piles, hopefully about half a deck each. Hold each pile as shown below, with your thumb at one end, your middle finger at the other end, and your pointer pushing down on the middle of the stack.
Holding a stack in each hand, move your hands close enough together so that once the cards come out of your hand, they will cross each other slightly. Pressing with your index finger, let the cards slide off your thumb slowly (it will be hard to regulate the speed at first, but keep practicing) (the cards will bend down in the middle, and then start coming off your thumb). You don't have to worry about taking turns for each side; if you start them shooting off both thumbs, they will cross each other. Keep going until all the cards have gotten on the stack
When you look at the stack, you will probably see some big chunks on one side or the other (or both!). This is because you are just starting and shuffling takes a lot of practice. Pick up the crossed over cards and slide them together to get one pile. Now you are ready to cut the deck and shuffle again. Keep shuffling!
Variation: to get the cards back into one pile after shuffling them, you can do "The Bridge." You have to be good at shuffling first before you try to do this. When you shuffle the cards, you are bending them down each time, so the bridge helps to bend them back the right way. After you have shuffled them onto the table, DON'T let go of the ends. Pick up the stack by curling all your fingers (not your thumbs) over the free ends of the 2 stacks, and keeping both thumbs on the top of the stack. Push in from the sides to make it look like a rainbow shape. Then straighten out your fingers to they form a surface under the cards, and let them start shooting into your hands (if the cards are slippery, they will start shooting right away). This will make a not-quite-perfect deck that you can cut and start shuffling again. BE CAREFUL, if your thumbs are not right, all the cards will explode in the air like fireworks. And if your hands are not right or the cards weren't straight, they will all slide out the sides. THIS WILL HAPPEN TO YOU! Just keep practicing!
Do you get bored over your school breaks? Do you wish you had something to do and people to communicate with? You have come to the right place! Every weekday, I will post an activity. You are encouraged to participate in the "comments" section by asking questions, answering other people's questions, posting a picture of your project, and telling us about how this activity went for you. You must be nice and supportive or your comment will not get posted!
Thursday, August 2, 2012
Wednesday, August 1, 2012
Wednesday 1 August 2012 - Mosaic Votive Holder
Today's Activity - Mosaic Votive Holder
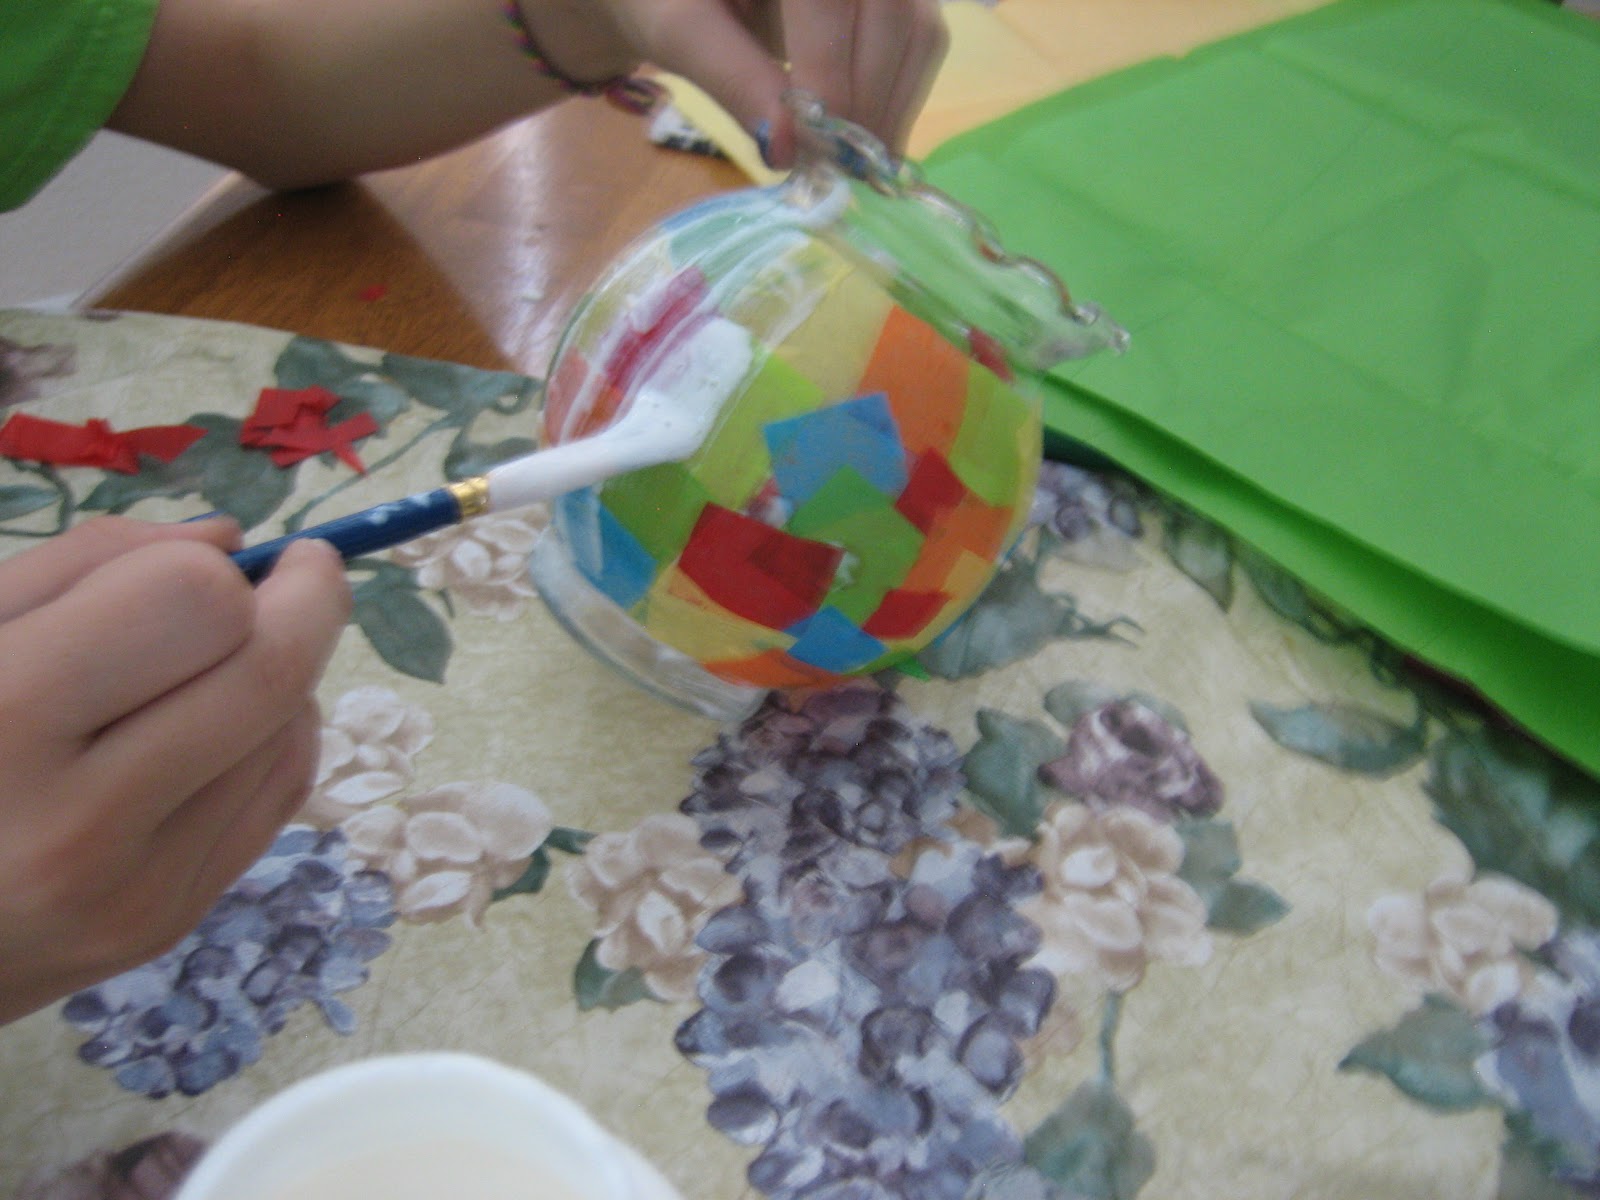
Remember when I said we'd use that tissue paper again? Today is the day! You will also need white glue or Mod Podge, a paint brush for glue, and a glass votive candle holder or small glass cup.
Get out some pieces of colored tissue and cut them into squares about 1 inch by 1 inch. If you have scraps left over from the flower craft, use these. If you end up with some odd shapes and triangles, that is fine.
| Your supplies. The sealer on the right is optional, and you only need one type of white glue. |
| Squares of tissue |
| Paint on some glue and apply squares |
| Squares can overlap a little, like here, or a lot. |
| Painting over the final product |
This craft can NOT be washed. Do NOT use a real candle in it; only use an electronic votive in it!!
Variation: You could also use this technique to make a pretty glass plate to use to serve candy or clean foods. If you make a plate, make sure it is clear glass, and do the mosaic on the BOTTOM of the plate. Again, don't wash it.
If your parents have lacquer or another sealing agent, it could then be hand washable.
Email me a picture of your bowl and I will post it here. mindiphipps@gmail.com
Tuesday, July 31, 2012
Tuesday 31 July 2012 - Quick and Easy Sugar Fudge
Today's activity - Quick and Easy Sugar Fudge
This is a microwave recipe, you don't need to cook!
Ingredients:
1 lb. box powdered sugar
1/2 cup cocoa powder
1/4 cup milk
a pinch of salt (pour a little salt in your clean hand, then take a pinch of it to use. Throw the rest away)
1/4 lb. butter or margarine (1 stick)
1 teaspoon vanilla
(optional) 1/2 cup chopped walnuts
You will also need a pie plate and wax paper, a big spoon and a spatula, and a microwaveable bowl.
1. Cut a square of wax paper that is slightly bigger than the pie pan. Put it into the pan. It will not stay in place, but that's okay, once the fudge is in there, it will keep it in.
2. In a microwave safe glass bowl, add the powdered sugar, cocoa, milk, salt and butter Microwave on high for 2 minutes. Then take it out and stir to get it all pretty smooth. While you are mixing, make sure to scrape the bottom and get all the sugar there mixed in. If there are still some little balls of sugar, you can try to crush them against the side of the bowl, but it's okay if there are still some balls or sugar in there.
3. Add in the vanilla, and the nuts if you want to have them. Mix well.
4. Pour the fudge into the pie plate with wax paper in it. Be careful as it starts to go in that the wax paper doesn't slide out of the pan. Use a spatula to try to get it all out of the bowl. Put the pie plate in the fridge or freezer until the fudge is solid.
5. Cut it into little pieces and eat it!
This is a microwave recipe, you don't need to cook!
Ingredients:
1 lb. box powdered sugar
1/2 cup cocoa powder
1/4 cup milk
a pinch of salt (pour a little salt in your clean hand, then take a pinch of it to use. Throw the rest away)
1/4 lb. butter or margarine (1 stick)
1 teaspoon vanilla
(optional) 1/2 cup chopped walnuts
You will also need a pie plate and wax paper, a big spoon and a spatula, and a microwaveable bowl.
1. Cut a square of wax paper that is slightly bigger than the pie pan. Put it into the pan. It will not stay in place, but that's okay, once the fudge is in there, it will keep it in.
2. In a microwave safe glass bowl, add the powdered sugar, cocoa, milk, salt and butter Microwave on high for 2 minutes. Then take it out and stir to get it all pretty smooth. While you are mixing, make sure to scrape the bottom and get all the sugar there mixed in. If there are still some little balls of sugar, you can try to crush them against the side of the bowl, but it's okay if there are still some balls or sugar in there.
| Before microwaving |
| After the microwave, mix and add vanilla |
4. Pour the fudge into the pie plate with wax paper in it. Be careful as it starts to go in that the wax paper doesn't slide out of the pan. Use a spatula to try to get it all out of the bowl. Put the pie plate in the fridge or freezer until the fudge is solid.
| Pouring can be messy, ask for help holding the pan if you need it |
| Use the spatula to scrape the sides of the bowl |
| It may not look pretty, but it tastes pretty great! |
Monday, July 30, 2012
Monday, 30 July 2012 - Hand Shadow Puppets
30 July 2012 - Today's Activity - Shadow Hand Puppets
To make the puppets,
you need to be in a darkened room, although not totally dark. Place a flashlight or desk lamp a few feet from
a wall. Turn it on and make sure it is
pointed at the wall. First, experiment
with the light, make sure it is pointing the right way, check and see how close
or far you need to hold your hands to make the shadows. You should find that if you put your hands
too close to the light (and relatively far from the wall), the shadow will be very
fuzzy. So you will probably want your
hands pretty close to the wall.
![]() |
| (These come from weheartit.com) |
Here is a guide to some shadows you can make. Can you tell what they are?
![]() |
| (These ones are from Chatham Chatter) |
![]() |
| (And these come from Butterfly Rocket.) |
Friday, July 27, 2012
27 July 2012 - "Clock" Card Game
Today's Activity: Solitaire
Solitaire means a card game you can do alone. This is a super-easy solitaire card game
called "Clock." First, get a
deck of cards and make sure there are no Jokers in it. Then, you are going to lay out the cards in
the shape of a clock, 4 in each pile.
The top pile is like where 12:00 is, the bottom pile is a 6:00,
etc. The 4 extra cards go in the middle. Each pile will be where you put the numbers
that match with that time. For example,
if you turn over a 3, you will put it on top of the pile at 3:00.
Turn over the BOTTOM card from the pile in the middle of the
clock. Look at it, and put it on top of
the pile for that time, for example a 3 goes on 3:00. Then take the bottom card from the 3:00 pile
and put it where it belongs. Jacks go to
11:00, Queens go to 12:00, and Kings go to the middle. The game ends either when you put the last
King on the center pile and there are no uncovered cards to move (you lose), or
when you have all cards showing and the last card is a King (you win!).
One thing: When you
lose, just peek under the piles that have an uncovered card. If that card should go in the same pile, you
can turn it over. If all the remaining
uncovered cards are actually in their own piles, you win after all!!
Here is a picture of a partially played game. First of all, it is a Disney World deck of cards, so the Jacks, Queens, and Kings have pictures of rides on them instead of the figures. As you can see, I have uncovered all the
Jacks. I already peeked under my 6 and 9
pile to make sure that the last 6 or 9 isn't under there. I haven't found any 8s yet. Aces are used for 1:00. (By the way, I lost the game on the very next
card, it was the last King)
I almost never win, but it's fun to have a game you can play
all by yourself. I also play this game
sometimes if I have a deck of cards that I know is missing one card. I deal out
the clock and just have 1 less card in the center. I play until I lose, then I cheat to sort out
all the other cards. At the end, I can
just look at my clock to see what card I am missing
(Did you know that that is a good use for your Jokers? If you are missing a card, just take a Joker
and draw the number and suit you need on it and add it to your deck)
NO NEW POSTS UNTIL MONDAY! See you then!
Thursday, July 26, 2012
26 July 2012 - Tissue Flowers
To do this craft, you will need the following items: 2 sheets tissue paper, the kind you use to
wrap a present (colored would be good), pipe cleaners and scissors. We will use the tissue for other crafts in
the future, so don't use up all of your supplies today!
Lay out your two sheets flat so they are perfectly stacked. Fold them in half and cut the side so you
now have 4 sheets. Then fold the 4
sheets over and cut the folded side. Now you
have 8 sheets.
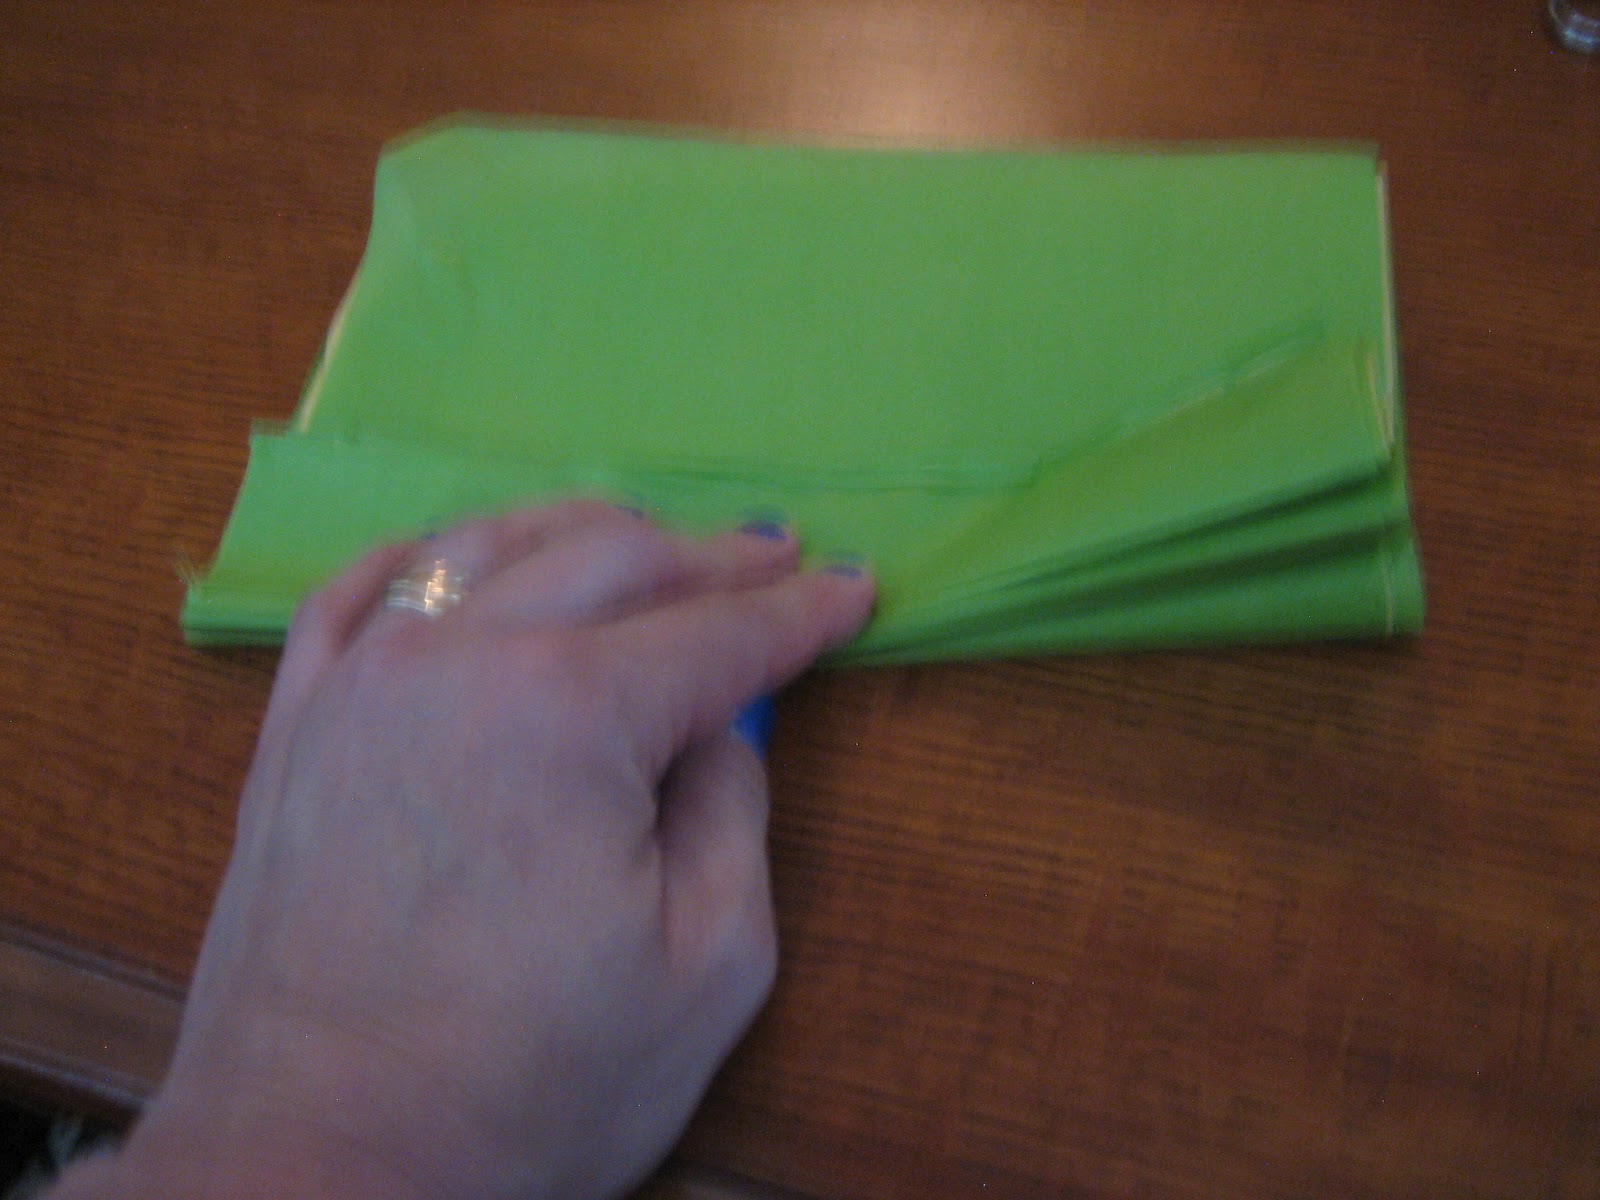
Working the shorter end, make a fold about 1 inch wide. Turn the stack over, then fold that flap over
again. Turn the stack over and fold
again. Keep going until the whole stack
is folded. At this point, you could use
it as a fan! But we are going to keep going. Make sure your folds look like mine; if you
ended up with something like a tube, it is not right.
Using your scissors, round off the ends. Fold the fan in half, make a crease, and open
it back up. Then cut a little
"V" on each edge of the crease (see picture). By the way, you don't really have to do any of the cuts; it will work out even if you don't.
Place a pipe cleaner under the middle of the tissue with
about 2 inches sticking out on one side, and the rest on the other. Fold the short end of the pipe cleaner over
the top of the tissue and twist it closed.
Hold the tissue by the pipe cleaner. Spread out the tissue so it forms a semicircle on each side of the pipe cleaner (it will be like a bumpy plate). You don't have to keep it open, but you need to kind of stretch each side so they are not so tightly closed. Gently pull up one layer of the tissue from one side of the pipe cleaner. Carefully pull it upright. Then do the same for the top layer on the other side. Now you will do the next layers on both sides, and keep going until the whole flower is puffed. You can twist the pipe cleaner stem onto a pencil or dowel to make it stand up better. You can put one flower into a vase, or make a whole bunch.
| This is with one piece of tissue on one side of the flower puffed up. |
| Now I did the first layer of tissue on both sides. |
| All done! |
Variations: You can
use fewer layers to make a smaller flower.
Also, you can use more colors, or fewer colors. After cutting the layers, you can rearrange
the order of the colors to get a specific look.
Have fun!!
Variation: To make a
tissue ball (that you could use as a Christmas ornament), follow all the steps
above until you get to the pipe cleaner.
Use a string instead of the pipe cleaner to hold it together. Gently pull up one layer from the top and
puff it up. Do the other side too. Then go to the bottom of the tissue and puff
the bottom layer down. Keep alternating
top and bottom sheets and you will end up wth a ball (make sure you have at least
8 layers to make the ball, 12 layers would be better).
Email me a picture of your flower(s) and I will post them
here! mindiphipps@gmail.com
Wednesday, July 25, 2012
25 July 2012 - Card Trick
This is a math-based trick, so you may not be able to play it
on anyone who is younger than 8 or so, depending on how good they (and you!)
are at math.
In your head, subtract 25 from their total. The 2 digits of whatever you have left are the 2 cards they had.
Try it by yourself a few times first, so you get the hang of
the steps and the math. Then try it on
someone else and see it in action. Tell
us in the comments section if you tried it and if it works.
Let's pretend I was your volunteer! My total is 69. What were my 2 cards?
Take a deck of cards and take out all the 10s, Jacks, Queens
and Kings (there are 4 of each). You
also should make sure you don't have any Jokers in the deck.
Ask for a volunteer and tell them they are going to pick 2
cards and you will tell them what they are.
Tell your volunteer to pick one card and look at it. In their head (or you
could give them paper) tell them to do the following steps:
1. double your
number
2. add 5 to your new
number
3. multiply your most
recent number by 5
Finally, they need to pick another card and add that number
to whatever they had last.
Have them tell you their final number.In your head, subtract 25 from their total. The 2 digits of whatever you have left are the 2 cards they had.
EXAMPLE: (volunteer picks an 8)
1. double your number
= 16
2. add 5 to that
number = 21
3. multiply by 5 =
105
Pick a second card (we'll say it's a 3) Add that to your last total 105 +3 = 108
They will tell you their number is 108
In your head, you figure that 108-25 = 83. So their
2 cards were an 8 and a 3!!
EXAMPLE 2: (volunteer picks a 2)
1. double your number
= 4
2. add 5 = 9
3. multiply by 5 = 45
4. second card (we'll
say it's a 9). Add to last total 45 + 9
= 54
They will tell you their number is 54
In your head, subtract 54-25 = 29. So their 2 cards were 2 and 9!!
I volunteered again!
My total is 41 What were my two
cards?
Post your answers as a comment and I will let you know if
you were right.
Subscribe to:
Posts (Atom)