Pages

Tuesday, July 31, 2012

Tuesday 31 July 2012 - Quick and Easy Sugar Fudge

Today's activity - Quick and Easy Sugar Fudge

This is a microwave recipe, you don't need to cook!

Ingredients:
1 lb. box powdered sugar
1/2 cup cocoa powder
1/4 cup milk
a pinch of salt  (pour a little salt in your clean hand, then take a pinch of it to use.  Throw the rest away)
1/4 lb. butter or margarine (1 stick)
1 teaspoon vanilla
(optional) 1/2 cup chopped walnuts

You will also need a pie plate and wax paper, a big spoon and a spatula, and a microwaveable bowl.

1.  Cut a square of wax paper that is slightly bigger than the pie pan.  Put it into the pan.  It will not stay in place, but that's okay, once the fudge is in there, it will keep it in.

2.  In a microwave safe glass bowl, add the powdered sugar, cocoa, milk, salt and butter  Microwave on high for 2 minutes.  Then take it out and stir to get it all pretty smooth.  While you are mixing, make sure to scrape the bottom and get all the sugar there mixed in.  If there are still some little balls of sugar, you can try to crush them against the side of the bowl, but it's okay if there are still some balls or sugar in there.
Before microwaving


After the microwave, mix and add vanilla
3.  Add in the vanilla, and the nuts if you want to have them.  Mix well.
4.  Pour the fudge into the pie plate with wax paper in it.  Be careful as it starts to go in that the wax paper doesn't slide out of the pan.  Use a spatula to try to get it all out of the bowl.  Put the pie plate in the fridge or freezer until the fudge is solid.
Pouring can be messy, ask for help holding the pan if you need it

Use the spatula to scrape the sides of the bowl

It may not look pretty, but it tastes pretty great!
5.  Cut it into little pieces and eat it!

Monday, July 30, 2012

Monday, 30 July 2012 - Hand Shadow Puppets

30 July 2012 - Today's Activity - Shadow Hand Puppets

To make the puppets,  you need to be in a darkened room, although not totally dark.  Place a flashlight or desk lamp a few feet from a wall.  Turn it on and make sure it is pointed at the wall.  First, experiment with the light, make sure it is pointing the right way, check and see how close or far you need to hold your hands to make the shadows.  You should find that if you put your hands too close to the light (and relatively far from the wall), the shadow will be very fuzzy.  So you will probably want your hands pretty close to the wall.
(These come from weheartit.com)
Here is a guide to some shadows you can make.  Can you tell what they are?
(These ones are from Chatham Chatter)
(And these come from Butterfly Rocket.)

Friday, July 27, 2012

27 July 2012 - "Clock" Card Game

Today's Activity:  Solitaire            
Solitaire means a card game you can do alone.  This is a super-easy solitaire card game called "Clock."  First, get a deck of cards and make sure there are no Jokers in it.  Then, you are going to lay out the cards in the shape of a clock, 4 in each pile.  The top pile is like where 12:00 is, the bottom pile is a 6:00, etc.  The 4 extra cards go in the middle.   Each pile will be where you put the numbers that match with that time.  For example, if you turn over a 3, you will put it on top of the pile at 3:00.

Turn over the BOTTOM card from the pile in the middle of the clock.  Look at it, and put it on top of the pile for that time, for example a 3 goes on 3:00.  Then take the bottom card from the 3:00 pile and put it where it belongs.  Jacks go to 11:00, Queens go to 12:00, and Kings go to the middle.  The game ends either when you put the last King on the center pile and there are no uncovered cards to move (you lose), or when you have all cards showing and the last card is a King (you win!).
One thing:  When you lose, just peek under the piles that have an uncovered card.  If that card should go in the same pile, you can turn it over.  If all the remaining uncovered cards are actually in their own piles, you win after all!!

Here is a picture of a partially played game.  First of all, it is a Disney World deck of cards, so the Jacks, Queens, and Kings have pictures of rides on them instead of the figures.  As you can see, I have uncovered all the Jacks.  I already peeked under my 6 and 9 pile to make sure that the last 6 or 9 isn't under there.  I haven't found any 8s yet.  Aces are used for 1:00.  (By the way, I lost the game on the very next card, it was the last King)
I almost never win, but it's fun to have a game you can play all by yourself.  I also play this game sometimes if I have a deck of cards that I know is missing one card.  I deal out the clock and just have 1 less card in the center.  I play until I lose, then I cheat to sort out all the other cards.  At the end, I can just look at my clock to see what card I am missing

(Did you know that that is a good use for your Jokers?  If you are missing a card, just take a Joker and draw the number and suit you need on it and add it to your deck)

NO NEW POSTS UNTIL MONDAY!  See you then!


Thursday, July 26, 2012

26 July 2012 - Tissue Flowers

Today's Activity:  Tissue Flowers  

To do this craft, you will need the following items:  2 sheets tissue paper, the kind you use to wrap a present (colored would be good), pipe cleaners and scissors.  We will use the tissue for other crafts in the future, so don't use up all of your supplies today!
Lay out your two sheets flat so they are perfectly stacked.  Fold them in half and cut the side so you now have 4 sheets.  Then fold the 4 sheets over and cut the folded side.  Now you have 8 sheets.

Working the shorter end, make a fold about 1 inch wide.  Turn the stack over, then fold that flap over again.  Turn the stack over and fold again.  Keep going until the whole stack is folded.  At this point, you could use it as a fan!  But we are going to keep going.  Make sure your folds look like mine; if you ended up with something like a tube, it is not right.


Using your scissors, round off the ends.  Fold the fan in half, make a crease, and open it back up.  Then cut a little "V" on each edge of the crease (see picture).  By the way, you don't really have to do any of the cuts; it will work out even if you don't.


Place a pipe cleaner under the middle of the tissue with about 2 inches sticking out on one side, and the rest on the other.  Fold the short end of the pipe cleaner over the top of the tissue and twist it closed.

Hold the tissue by the pipe cleaner.  Spread out the tissue so it forms a semicircle on each side of the pipe cleaner (it will be like a bumpy plate).  You don't have to keep it open, but you need to kind of stretch each side so they are not so tightly closed.  Gently pull up one layer of the tissue from one side of the pipe cleaner.  Carefully pull it upright.  Then do the same for the top layer on the other side.  Now you will do the next layers on both sides, and keep going  until the whole flower is puffed.  You can twist the pipe cleaner stem onto a pencil or dowel to make it stand up better.  You can put one flower into a vase, or make a whole bunch.
This is with one piece of tissue on one side of the flower puffed up.

Now I did the first layer of tissue on both sides.

All done!

Variations:  You can use fewer layers to make a smaller flower.  Also, you can use more colors, or fewer colors.  After cutting the layers, you can rearrange the order of the colors to get a specific look.  Have fun!!
Variation:  To make a tissue ball (that you could use as a Christmas ornament), follow all the steps above until you get to the pipe cleaner.  Use a string instead of the pipe cleaner to hold it together.  Gently pull up one layer from the top and puff it up.  Do the other side too.  Then go to the bottom of the tissue and puff the bottom layer down.  Keep alternating top and bottom sheets and you will end up wth a ball (make sure you have at least 8 layers to make the ball, 12 layers would be better).
Email me a picture of your flower(s) and I will post them here!  mindiphipps@gmail.com


Wednesday, July 25, 2012

25 July 2012 - Card Trick

This is a math-based trick, so you may not be able to play it on anyone who is younger than 8 or so, depending on how good they (and you!) are at math.

Take a deck of cards and take out all the 10s, Jacks, Queens and Kings (there are 4 of each).  You also should make sure you don't have any Jokers in the deck.
Ask for a volunteer and tell them they are going to pick 2 cards and you will tell them what they are.  Tell your volunteer to pick one card and look at it.  In their head (or you could give them paper) tell them to do the following steps:
1.   double your number
2.   add 5 to your new number
3.  multiply your most recent number by 5

Finally, they need to pick another card and add that number to whatever they had last.
Have them tell you their final number.

In your head, subtract 25 from their total.  The 2 digits of whatever you have left are the 2 cards they had.

EXAMPLE: (volunteer picks an 8)
1.  double your number = 16

2.  add 5 to that number = 21
3.  multiply by 5 = 105

Pick a second card (we'll say it's a 3)  Add that to your last total 105 +3 = 108
They will tell you their number is 108

 In your head, you figure that 108-25 = 83.  So their 2 cards were an 8 and a 3!!

EXAMPLE 2: (volunteer picks a 2)
1.  double your number = 4

2.  add 5 = 9
3.  multiply by 5 = 45

4.  second card (we'll say it's a 9).  Add to last total 45 + 9 = 54
They will tell you their number is 54

In your head, subtract 54-25 = 29.  So their 2 cards were 2 and 9!!

 Try it by yourself a few times first, so you get the hang of the steps and the math.  Then try it on someone else and see it in action.  Tell us in the comments section if you tried it and if it works.
Let's pretend I was your volunteer!  My total is 69.  What were my 2 cards?

I volunteered again!  My total is 41  What were my two cards?
Post your answers as a comment and I will let you know if you were right.

Tuesday, July 24, 2012

24 July 2012 - Fortune Tellers

You may have made these before, maybe you call them "Cootie Catchers."  But since they don't actually seem to catch anything, I call them Fortune Tellers.  First you need to fold one, then you will label it with fortunes.

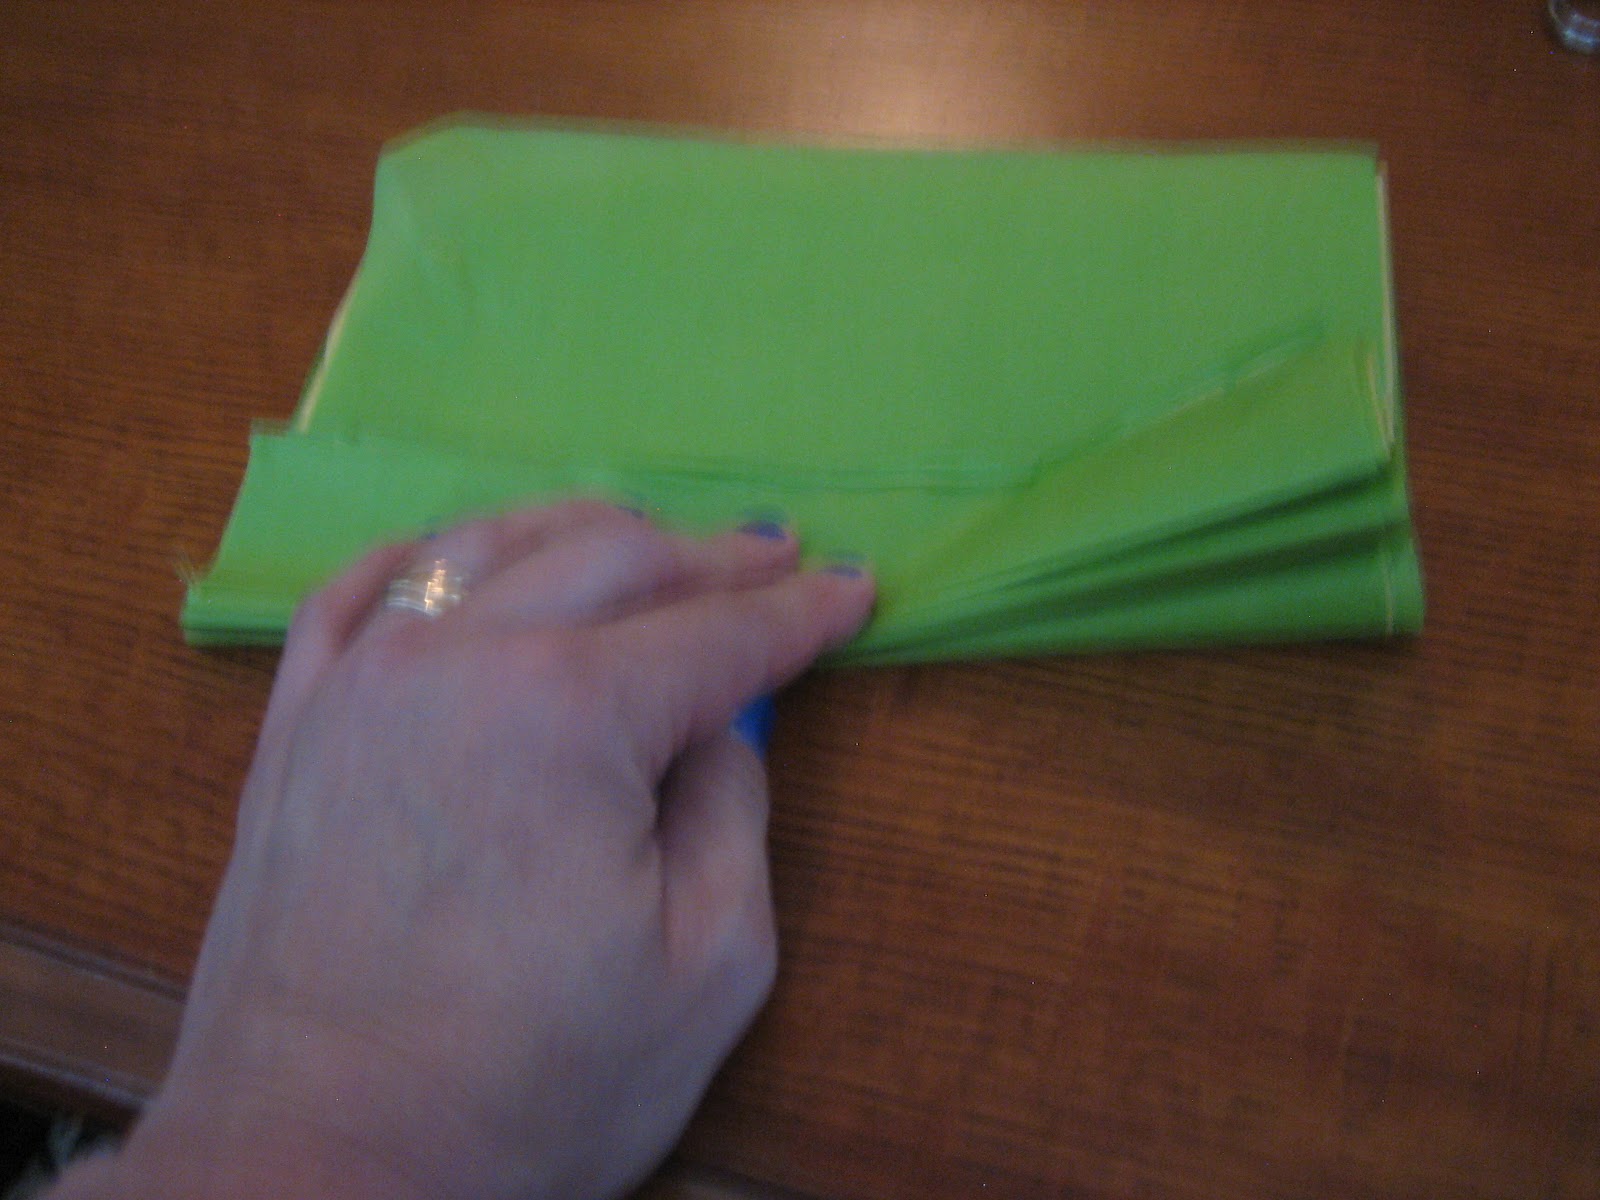
Step 1:  Start with a blank sheet of paper (lined school paper is okay, but blank paper is better).  If you have square paper, you can skip to step 2.  If you have regular paper, you need to make it square.  To do 
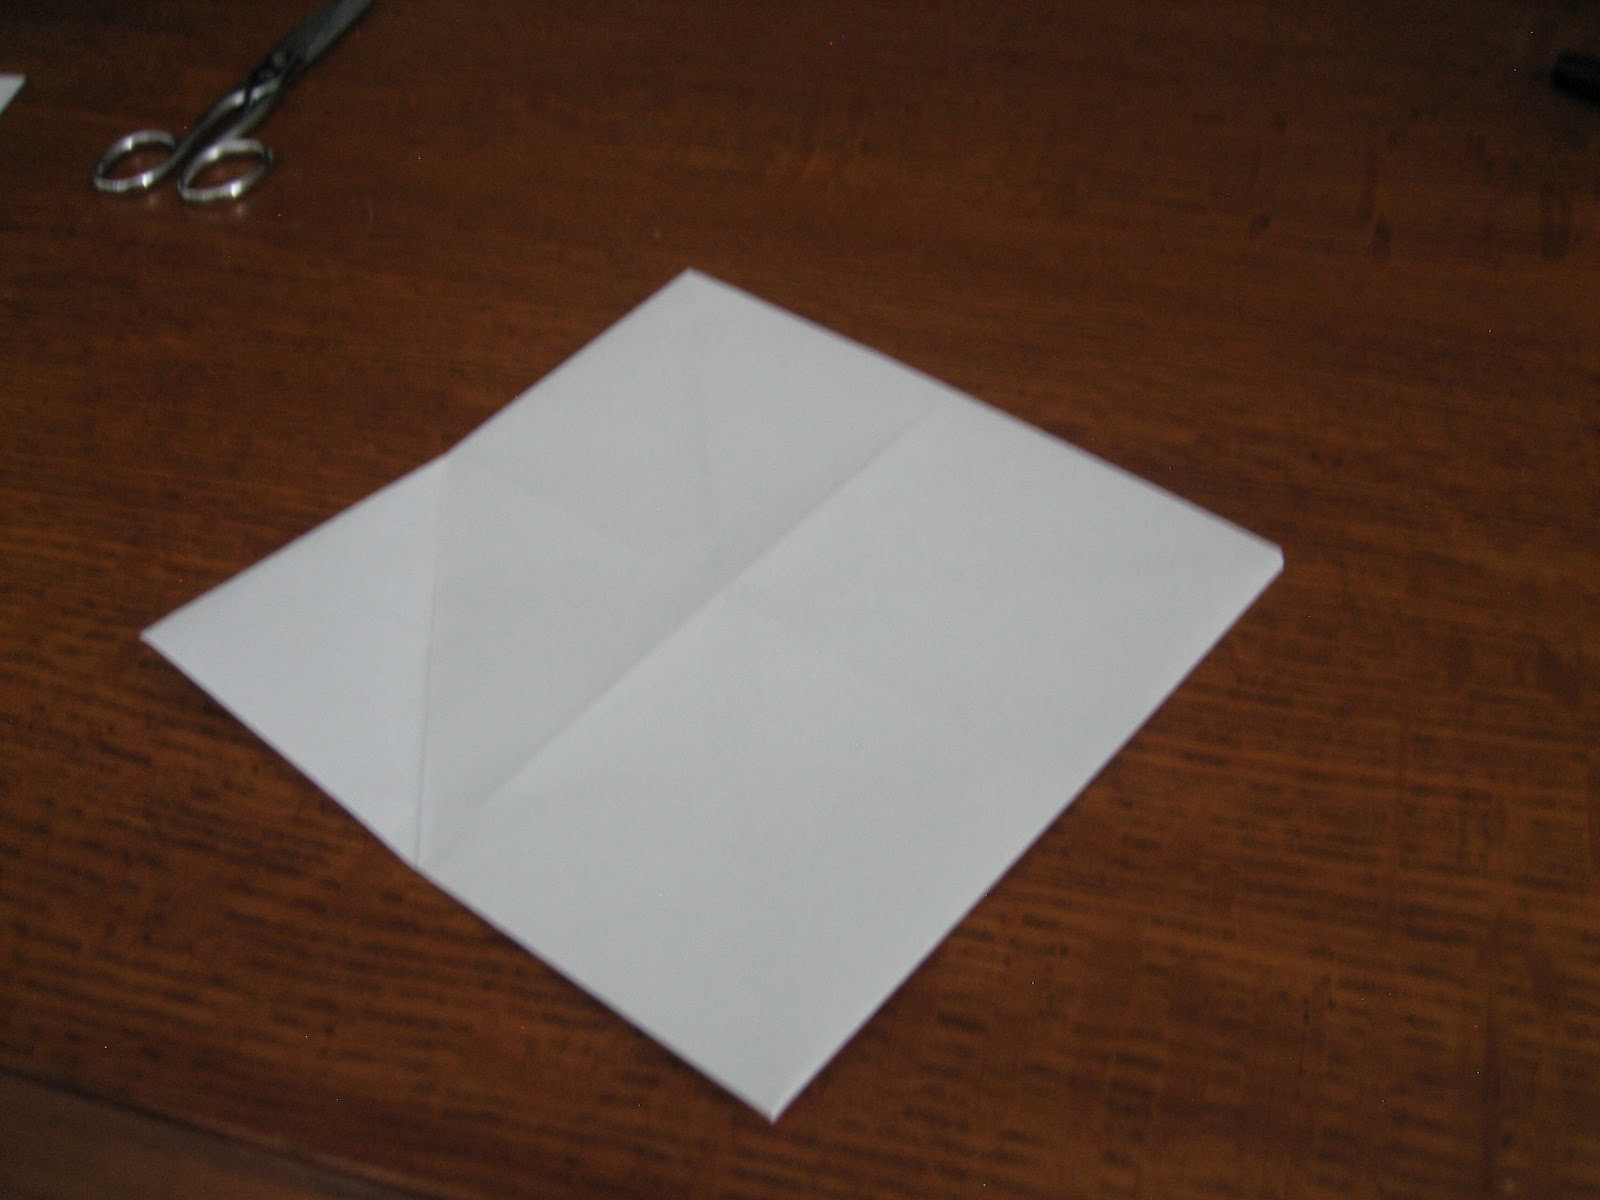
that, you fold up one corner so that it goes across the paper and meets the far edge.  It will look like this:
Bottom corner folded up, cut off the top flap.

Cut off the top flap.  Now unfold the paper and you have a square.
Step 2:  Fold the bottom left corner up until it touches the top right corner.  Make a good fold line.  Then open it up and fold the opposite way.  Open it up and you should have lines making an x across the square.


Step 3:  Fold all 4 corners in to the middle.  DO NOT unfold!
Folding in the first corner
All corners are folded
Step 4:  Turn the whole thing over so the corners are on the bottom.  Fold the 4 corners in again to make the whole thing even smaller.
Upside down, you see the fold lines but no flaps.
Corners folded over the bottom.
Step 5:  Labeling the Fortune Teller.  There are lots of different ways to do this, but the only way we can play together is if we all label the numbers and colors the same way.  So, on the side you are looking at, there are 4 big triangle flaps, and each of them has 2 sections.  Start on any flap and number the two sections 1 and 2.  Go to the next flap and also do 1 and 2.  On the other 2 flaps, number the sections 3 and 4.  It should look like this:

Step 6:  Turn it over to label the colors.  You should have 4 square flaps on the back side.  On each one, write the name of a color.  So we can play together, for this one you should use RED, BLUE, GREEN, and PURPLE (or YELLOW).

Step 7:  Turn it back over so you can write the fortunes on it.  Lift any of the triangle flaps, and you will write the fortune on the back side of the numbers.  You can write big, so there will be one fortune for both of the numbers on the flap, or you can write smaller and put a different fortune under each number.  Your fortunes should be predictions for the players future (only nice fortunes!), like "You will be rich" or "You will have 8 children"  or "You will be a doctor."
Example of a BIG fortune that covers 2 numbers.

This shows the small fortunes, so that each number has its own fortune.
To use the Fortune teller, fold the numbers back down so you see them and not the fortunes.  Fold the Fortune teller in half between the 1 and 2, where there is not already a fold.  Unfold and then do it again the other way.  Holding the numbers side up, reach under the flaps that have the colors on them and "puff" them out so your fingers go inside.  Use your thumb and first finger on both hands.  Put your thumbs toward each other and the pointers together and pull the pointers up from the thumbs to show 4 of your numbers.  Then switch and put the left thumb and pointer together, and the right ones together and pull to the sides.  Go back and forth a few times to break it in.

To play with someone, close all your fingers in the middle so they only see the colors and tell them to pick a color.  When the choose, open the Fortune teller and spell the name of the color, changing the opening each time: R (thumbs together, pointers together, E (right hand together, left hand together), D (go back to the first position).  On the last letter, ask them to pick one of the numbers they see.  Then count it out by changing positions just like before.  When you stop, have them pick one of the numbers they see.  This time, you will remove your hand and read them the fortune that is under their number.  Fold it back up and you can try again!
Variations:  You can write the names of different colors, vary your numbers, write extra small fortunes so your players will pick a number and say "top" or "bottom" and you will have 2 fortunes written under each number.
DO NOT USE A VARIATION TO PLAY HERE!
There are 2 ways to play.  First, you post a comment saying a color, number and number.  Second, you read other peoples colors and numbers, play them on your fortune teller, and post a reply telling them what their fortune was.  Other people will tell you what you go on their fortune tellers too!  The first post will be me, so play my color, number, and number on your fortune teller and tell me what I got!

Monday, July 23, 2012

23 July 2012 - Codebreakers!

In the future, we will do harder codes, but for today it will be an easy substitution code.  A substitution code means a code where you substitute a different letter for the letter you want.  The top line below is the letter you want, the bottom line is what you will write instead of the real letter.  For our code today, we will do this:

Real letter:  A B C D E F G H I J K L M N O P Q R S T U V W X Y Z
Code letter: B C D E F G H I J K L M N O P Q R S T U V W X Y Z A(use these to write in code)

For example, if you wanted to write the word "dog" in code, you would first look for the D on the top line.  Below it is an E, so that is the code letter for D.  "DOG" in this code would be spelled "EPH."

Try to write these in code:  CAT, SMART, BLUE  (answers are at the bottom of this post)

To decode a message that is already in code, you need to look for the letter in the bottom row, and see what letter is above it.  If a coded message said "EVDL"  you would look for the E in the bottom row and there is a D above it, so D is the first letter of the real word.  Solving for the other letters, you would realize that the coded word is telling you to "DUCK."

Try to decode these words:  SFE, MVDLZ, TDIPPM  (answers are at the bottom of the post)

In the comments, answer the following question:
Xibu jt zpvs gbwpsjuf gppe?

Answers for CAT, SMART, FAST
CAT = DBU
SMART = TNBSU
BLUE = CMVF

Answers for SFE, MVDLZ, TDIPPM
SFE = RED
MVDLZ = LUCKY
TDIPPM = SCHOOL